REVIEW · EVENING EXPERIENCES
Amsterdam Night Photography Workshop with a Professional
Book on Viator →Operated by Isee Amsterdam Photography Tours · Bookable on Viator
Night photos are a different kind of magic. This 90-minute Amsterdam workshop pairs an instructor’s real-world experience with hands-on help so you can actually nail the shots after dark.
I love the small-group size (max 5), because you get real attention instead of generic tips. I also love that you learn both the where and the how—not just camera settings, but location choices that make night scenes look intentional. One thing to think about: the workshop depends on good weather, so you may need a backup plan if conditions aren’t right.
In This Review
- Key things I found most useful
- Amsterdam after dark: why this 90-minute workshop hits the sweet spot
- Red Light District at night: the real photography lesson is choosing your light
- What you’ll do once you’re in position
- A balanced note on comfort
- Long exposures and composition tips you can actually use
- Getting the gear working: bring, borrow, and shoot with confidence
- A simple mindset shift
- How the small group changes the whole experience
- Meeting point and timing: what you need to know before you go
- Price and value: is $114.39 worth it?
- Quick practical tips before your night shoot in Amsterdam
- Who should book this workshop
- Should you book? My decision guide
- FAQ
- Where do we meet for the workshop?
- What time does the night photography workshop start?
- How long is the workshop?
- How big is the group?
- Do I need to bring my own camera or tripod?
- What part of Amsterdam are we photographing?
- What happens if the weather is bad?
Key things I found most useful
- Small group (max 5) means faster feedback on composition and settings
- Red Light District focus gives you real night lighting and moody reflections to work with
- Beginner to advanced friendly: you’ll get guidance whether you shoot on auto or manual
- Equipment made workable: you can bring or borrow gear so you’re not left behind
- Professional-level coaching: the guide combines years in photography work with teaching
- Short and practical (about 90 minutes): designed to get results, not just walk around
Amsterdam after dark: why this 90-minute workshop hits the sweet spot
Night photography in Amsterdam can feel intimidating fast. Dark streets, mixed light sources, and constant motion from bikes, cars, and pedestrians make it hard to know what’s going wrong. That’s exactly why a focused workshop works better than wandering with a camera alone.
This experience is built for exactly that moment when you want images that look like the ones you see online, but you also want a human to point you toward what to try next. It’s also short enough to keep your momentum. In about 1 hour 30 minutes, you’ll cover practical shooting basics and then put them into action right away. If you’re only in the city for a few days, that time efficiency matters.
The instructor is a University Lecturer with 15 years professional photography industry experience. That combo shows in the teaching approach: you don’t just get rules like use a tripod. You get reasoning, plus ways to test quickly so you can adjust without getting stuck.
You can also read our reviews of more evening experiences in Amsterdam
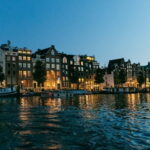

Red Light District at night: the real photography lesson is choosing your light
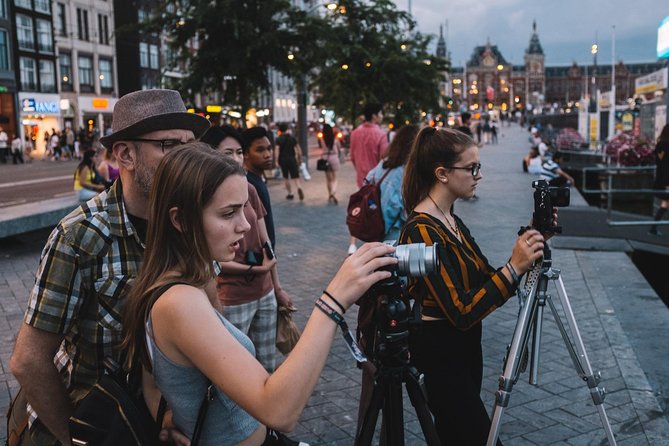
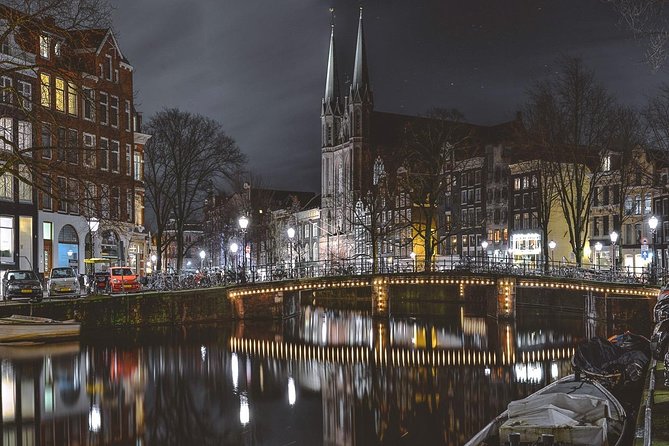
Your main stop is the Red Light District, starting at Stationsplein (meet there at 9:30 pm). This area isn’t just famous. It’s visually useful for photographers at night.
Why? Because you get:
- bright, colored sources that create reflections on wet pavement
- plenty of vertical lines and human-scale detail
- lighting contrasts that make composition choices matter
In a night setting like this, the difference between an okay photo and a wow photo often comes down to where you stand and what you include at the edges. The workshop’s pitch is that “where you go” changes everything, and that’s not marketing fluff. It’s how you control the scene so your long exposure doesn’t turn into random blur.
What you’ll do once you’re in position
Even in a relatively quick session, the teaching style described in feedback emphasizes:
- getting into good spots fast
- learning how to frame the scene so the light supports the composition
- making small setting changes to fix common problems
One standout theme from strong feedback: the guide brings people to photo opportunities and then offers setting suggestions on the spot. That matters because night exposure is partly math, but mostly practice.
A balanced note on comfort
The Red Light District can feel intense for some visitors. The workshop is clearly centered there, so you should go in knowing it’s not a quiet “storybook canals” walk. If you’re sensitive to that environment, consider whether you want your night to be about photography first, or about atmosphere first.
Long exposures and composition tips you can actually use
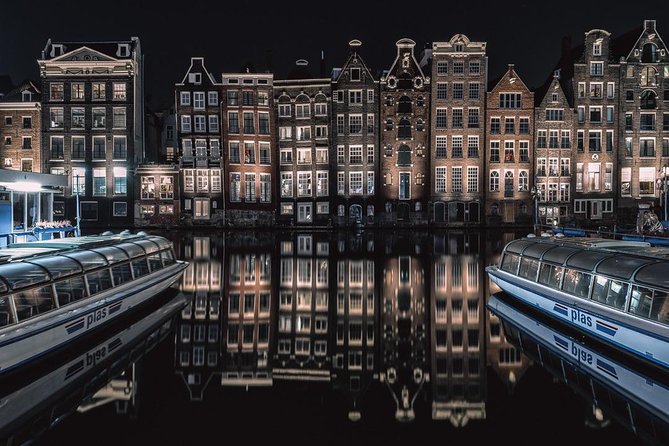
Night photography isn’t only about darkness. It’s about controlling motion and light. This workshop teaches the basics in a way that works whether you’re shooting on a phone, a compact camera, or a more serious setup.
You’ll likely spend time covering the core decisions behind night shots:
- exposure time (how long to let light build up)
- focusing and sharpness (so the image doesn’t feel soft for the wrong reason)
- composition choices (so the scene looks designed, not accidental)
- depth and layering (so the final photo has a sense of space)
Feedback also points to frequent, practical discussion about depth, composition, and equipment, including patience for students who are still learning manual shooting. That’s a big deal. Too many “workshops” only show where to stand and then leave you alone with your camera.
The best part is that the coaching is both technical and visual. You’re not just memorizing settings; you’re learning what to look for and how to react when the scene changes between shots.
You can also read our reviews of more photography tours in Amsterdam
Getting the gear working: bring, borrow, and shoot with confidence
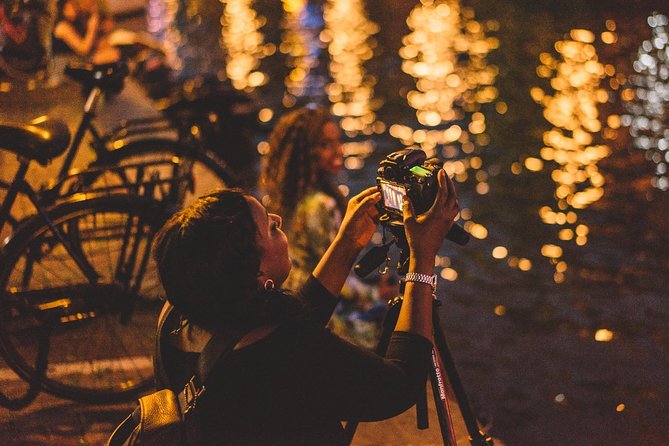
A common problem with night photography workshops is gear anxiety. You arrive with a camera, but no tripod. Or you have a tripod, but you’re not sure how to set up for long exposure. Or you don’t have the right mode and you panic.
This workshop specifically aims to remove that barrier by offering ways for people to participate using their own equipment or borrowed gear. That’s a practical inclusion, especially in a max-5 group where the guide can help individually.
In one piece of feedback, the instructor provided a tripod, and also gave suggestions for how to set things for better results. If you don’t have a tripod, it’s worth assuming you may be able to use one, but still bring your own tripod if you have it. You’ll be ready faster, and you’ll get more shooting time.
A simple mindset shift
Try to think of the gear as a tool, not a test. At night, even small changes can transform an image. So if one shot comes out too bright, too dark, blurry, or messy, you’re not failing. You’re gathering information for the next attempt.
That mindset is exactly what you want from a short workshop: quick feedback, fewer dead-end tries, and better odds of leaving with images you’re proud to share.
How the small group changes the whole experience
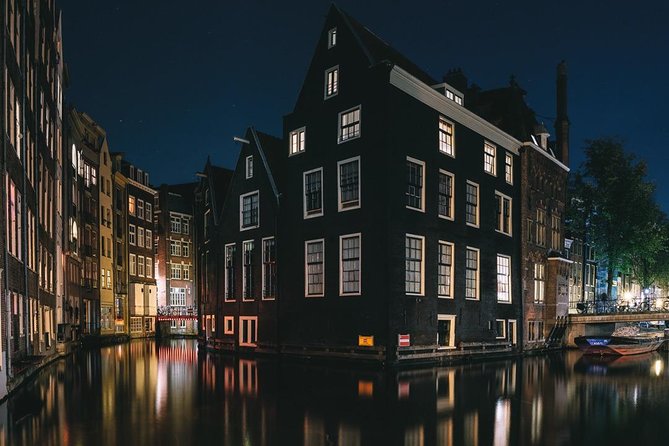
With no more than 5 travelers, this doesn’t feel like a lecture. It feels more like guided practice.
In a larger group, you might get one tip and then wait. Here, you can get corrections while you’re still setting up. That speed matters at night because:
- light levels shift
- people move through your frame
- reflections change with traffic and weather
In feedback, people highlighted the guide being helpful and patient, including composition tips and follow-up suggestions. You also get a friendlier pace, where you’re not rushed away from your attempts.
Another underrated benefit: in a small group you’ll likely see other cameras and approaches. That helps you understand what’s possible without owning the same equipment.
Meeting point and timing: what you need to know before you go
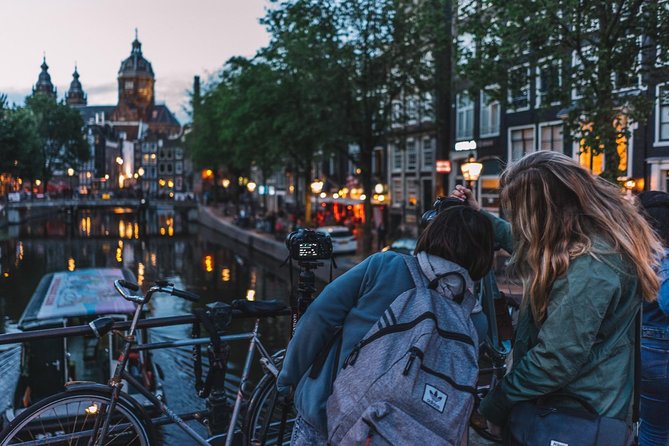
You’ll meet at Stationsplein, 1012 AB Amsterdam and the experience ends back at the meeting point. Start time is 9:30 pm, and the activity runs about 1 hour 30 minutes.
A couple of practical points:
- Build in a buffer getting there. Night transport can be easy, but finding the exact meetup spot quickly matters.
- Wear something you can move in and stand still in. Night photography often means long pauses for a good exposure.
- Expect the session to be weather-aware. The experience requires good weather, so if conditions look questionable, the organizer may shift dates or cancel.
One more thing: the workshop uses a mobile ticket, and confirmation is provided at booking. That’s convenient, but also means you should keep an eye on your phone battery. Bring a charging cable if you’ll be out late.
Price and value: is $114.39 worth it?
At $114.39 per person for about 90 minutes, this isn’t a bargain-basement activity. But it can still be good value if you fit the sweet spot: you want better night photos and you want help quickly.
Here’s what you’re paying for beyond time:
- a professional instructor who can explain technique in context
- access to better shooting locations than you’ll likely find alone
- hands-on coaching on composition and settings
- an intentional small-group format
The best sign for value is whether the workshop reduces your trial-and-error. Night photography can turn into a lot of wasted shots when you don’t know what to try. With targeted guidance, you’re more likely to come away with images you can use, not just a memory of standing in the dark.
Also, the fact that it’s often booked around a month in advance (on average) suggests it’s in demand. That usually happens when people feel they got something practical, not just a walking tour.
Quick practical tips before your night shoot in Amsterdam
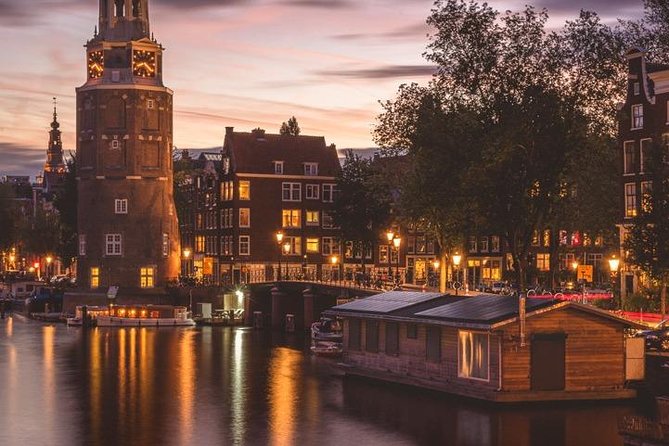
These are the little things that help your workshop time go further, especially in a low-light setting like the Red Light District.
- Bring your camera manual modes if you have them. If you’re not sure, ask the instructor to show what to change first.
- If you have one, pack a tripod. It’s one of the easiest ways to stabilize long exposures.
- Expect mixed lighting. You’ll likely see bright signs next to softer ambient light, and that’s normal.
- Wear shoes that work on streets that may be uneven or slick. Wet reflections are great for photos, but the ground may be less fun to walk on.
- Don’t chase every shot. Try one strong composition, then take a couple of variations. Speed beats randomness at night.
And if weather is questionable: go in with flexibility. The experience requires good weather, and if it’s canceled due to poor conditions, you should be offered a different date or a refund.
Who should book this workshop
This workshop fits you if:
- you want better night photos and don’t want to guess for hours
- you’re okay shooting in the Red Light District environment as part of the experience
- you appreciate hands-on coaching and small-group attention
- you want a session that covers more than one topic (location + technique + execution)
It’s also described as suitable for absolute beginners through industry professionals. That wide range works best because it’s short and structured, and the instructor can adjust the depth of guidance.
If your goal is purely scenic sightseeing, this may feel too focused on photography. But if you want photos that look intentional, it’s a strong match.
Should you book? My decision guide
I’d book this workshop if you want a fast path to night photos that actually improve your results. The biggest reasons are the small-group coaching and the focus on both where to shoot and how to set up once you’re there.
Skip it if:
- you’re uncomfortable with the Red Light District setting
- you’re relying on the weather to cooperate and can’t be flexible if it gets rescheduled
- you want a long, slow night walk instead of a technique-driven session
For the right traveler, this is a focused way to turn Amsterdam at night into real photos, not just low-light disappointments.
FAQ
Where do we meet for the workshop?
You meet at Stationsplein, 1012 AB Amsterdam, Netherlands.
What time does the night photography workshop start?
The start time is 9:30 pm.
How long is the workshop?
It lasts about 1 hour 30 minutes.
How big is the group?
The workshop has a maximum of 5 travelers.
Do I need to bring my own camera or tripod?
You can bring or borrow equipment so everyone can take part. One review also mentioned the guide providing a tripod.
What part of Amsterdam are we photographing?
The itinerary stop listed is the Red Light District.
What happens if the weather is bad?
The experience requires good weather. If it’s canceled due to poor weather, you’ll be offered a different date or a full refund.